Overview:
The Zend Optimizer is a free application that runs the files encoded by the Zend Encoder and Zend SafeGuard Suite, while enhancing the running speed of PHP applications. Many scripts require that you have Zend Optimizer installed so you are able to run them on your server while decrypting and running them on the fly while increasing runtime performance.
http://www.zend.com/store/products/zend-optimizer.php
Tested On:
This tutorial was test on: Red Hat Enterprise Linux ES using Cpanel and assumes you will be installing on a Cpanel based system otherwise you may need to make modifications in the locations of files and directories for your OS/Control Panel.
Installation:
1) First off you’ll need to grab a copy of the optimizer depending on what platform you would like to install it on. http://www.zend.com/store/free_download.php?pid=13
Linux users should grab the Linux glibc2.1
2) Once you have downloaded the file locally you’ll need to upload it to your web server. FTP to your server and upload it to a directory of your choice. It’s to bad that Zend had to make it so they couldn’t provide us with a direct download so you can’t wget the file directly from the server… a bit of a pain.
3) Uncompress/extract the file
tar zvfx ZendOptimizer*.tar.gz
cd ZendOptimizer-2.5.3-linux-glibc21-i386/
4) Now run the installer,
./install.sh
5) The welcome screen

6) The agreement
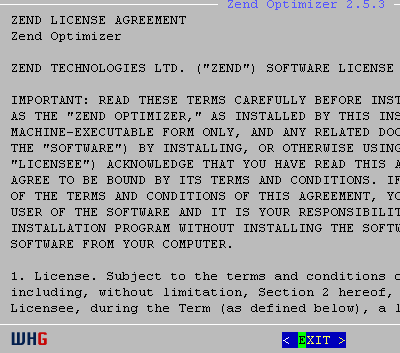
7) Where do you want to install Zend Optimizer?
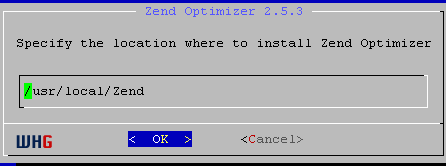
8) Locate your php.ini file
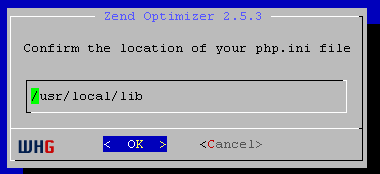
9) Select Yes, chances are you are using Apache web server
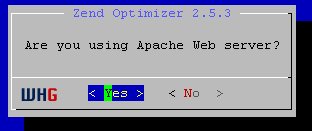
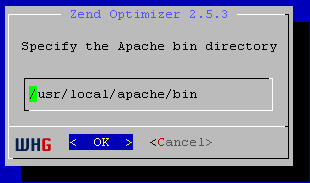
10) Enter the location of where apache files are
11) Zend changing your php.ini file location, make a note of this.
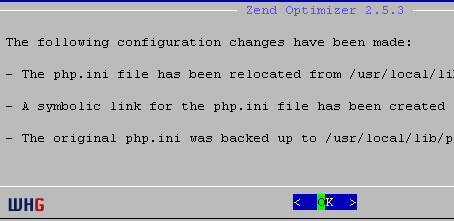
12)
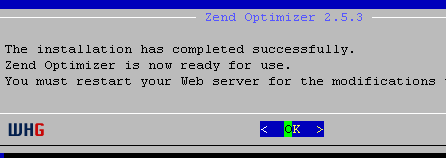
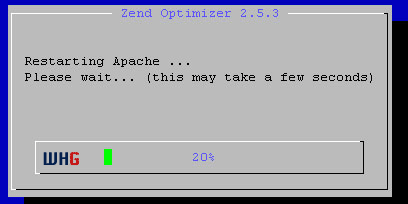
13) Restart your web server for the changes to take effect
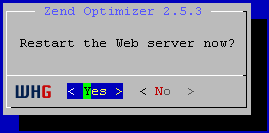
14) Apache should restart successfully.
You may also restart Apache manually using # /etc/init.d/httpd restart
15) Ensure that Zend Optimizer is working you can do the following in the shell.
php -v
You should see something like this for output:
PHP 4.3.8 (cgi) (built: Sep 1 2004 17:00:35)
Copyright (c) 1997-2004 The PHP Group
Zend Engine v1.3.0, Copyright (c) 1998-2004 Zend Technologies
with Zend Optimizer v2.1.0, Copyright (c) 1998-2003, by Zend Technologies
16) After the installation is complete you can remove the directory.
cd to where the extracted Zend first.
rm –rf ZendOptimizer-2.5.3-linux-glibc21-i386
Congrats, you have now installed Zend Optimizer.
Article written by Steven Leggett Copyright 2004 WebHostGear.com