OSX in Virtual Box (Hackintoshed VM)
How to create a Hackintoshed Virtualbox
What you’ll need.
An AMD or Intel system that supports hardware virtualization.
The newest Virtualbox (get it off of filehippo.com).
An OSX86 iso, Get it off of torrents if you don’t have one.
After you have the above mentioned files install Virtualbox.
Open up Virtualbox and click on New at the top left. 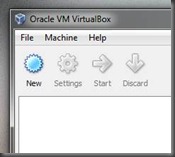
At the Create New Virtual Machine window, click Next. 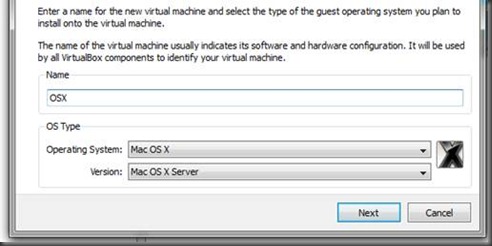
At this window type OSX as the name and it will automatically change the system and version.
The next window will let you choose your RAM amount. 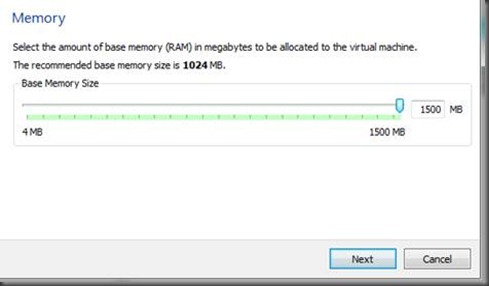
If you can spare it crank it up as far as you can go but 1024MB should be sufficient. 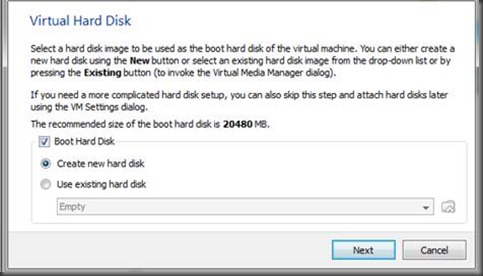
This is where you’ll make your hard disk. 20GB should be enough so what it comes down to is dynamic or static. Dynamic will expand on use and Static will be a fixed 20GB no matter how much data is actually in it. Dynamic is better for not taking up your hard drive but Static should give you better performance. I normally use Dynamic. Click next unless you want to change it from Dynamic or if you want to increase the disk size or file location. 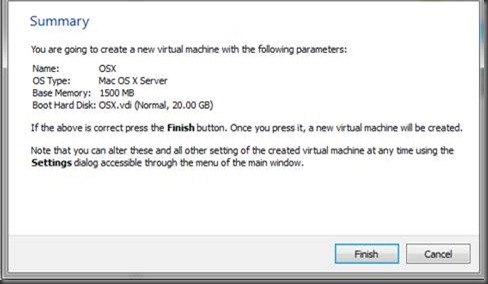
This is the settings you configured. Finish. Now click settings at the top. At this window click on System at the left and uncheck Enable EFI. 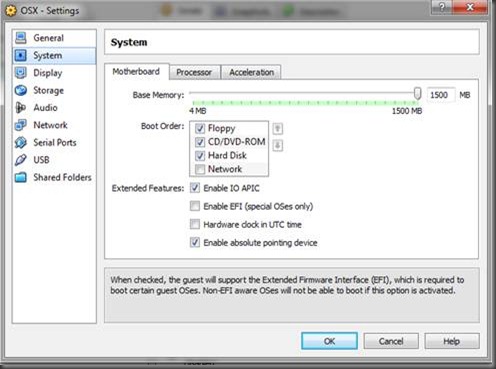
Now click on the Storage button on the left. From there click on Empty under the OSX.vdi
Next click the folder with the green arrow on the right. 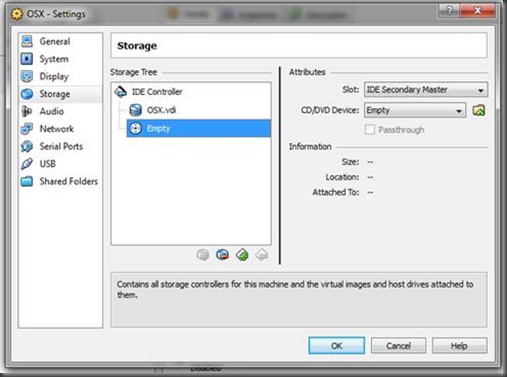
At this window click Add (Plus sign on 3 CD’s) at the top. Then find and add the OSX86 iso you downloaded earlier. Then highlight it and click Select at the bottom. Then click OK and start 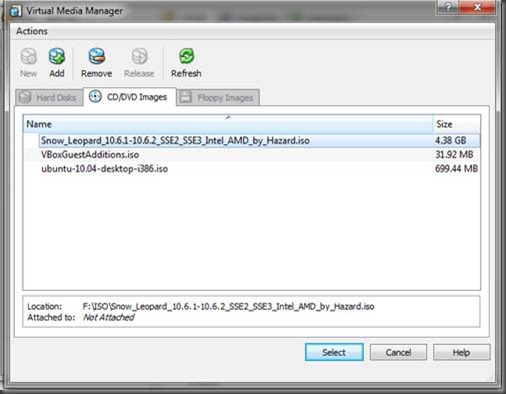
Now this is where you’ll install your OSX in Vbox! 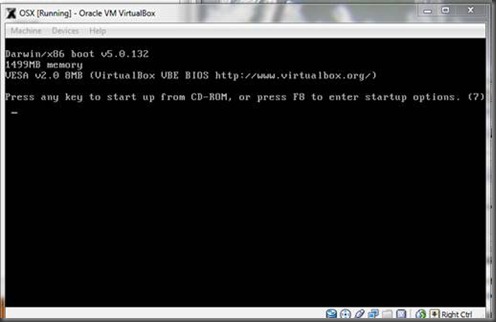
At this point click inside the window and hit F8. Then at the boot: _ prompt type –v so you can see what exactly went wrong if something does go wrong. All the services will run and eventually you should come to the language screen. Choose your language then click next. If you are unable to move your mouse around then hit Right-Ctrl + I. Click continue, agree the click utilities at the top and click Disk Utility. 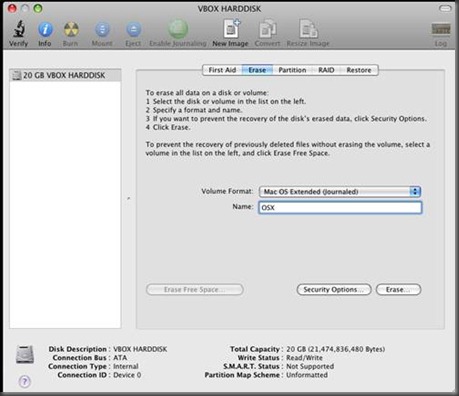
At this screen highlight 20GB VBOX HARDDISK. Then click erase at the right and Name it what you want in the name box and then click erase at the bottom right. When the cancel erase box pops up click Erase. It shouldn’t take long. Then click Disk Utility at the top left and then Click Quit Disk Utility. Now your back at the installer. Highlight the drive that is now showing up and click continue. 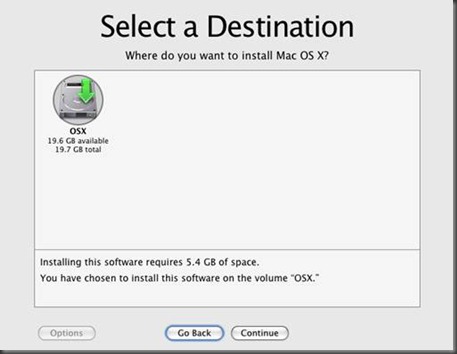
The next window is important. Click customize at the bottom left.
For AMD Users check,
Any Updates included at the top.
Drop down Kernels and choose Legacy kernel.
AMD option below System support.
For Intel Users,
Any Updates included at the top.
Drop down bootloaders and check the newest chameleon.
Drop down Kernels and choose Legacy kernel.
Then click Next done and Install. To speed up the process you can click Skip when the disc check pops up.
Wait for it to finish installing… 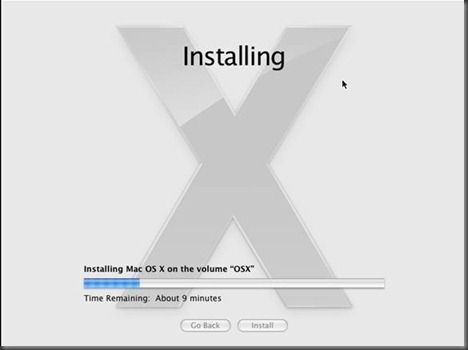
As soon as it says installation finished and starts counting down to restart press the Right-Ctrl and then click on Devices at the top and hit CD/DVD Devices and click Unmount CD/DVD Device. Then click Machine and Reset then click reset at the prompt. Next you’ll see the Chameleon loader and then OSX will begin to boot. 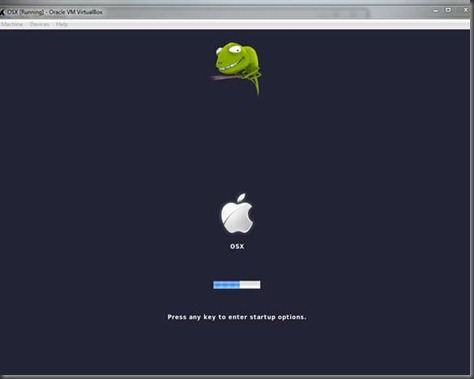
After it boots you will see the setup screens for OSX!
You’re good to go. The only hiccup I’ve found is that it can only be virtualized with one core. It could be the OSX disc I was using or it might not be. And I have yet to find the right kext that will allow audio to work and the resolution is limited also (SEE UPDATE). But other than that you’ll have a fully functioning OSX virtualized! 
UPDATE: Ok after this getting posted on Lifehacker, I’d like to post some answers to the resolution and audio. I should have looked around before posting this but I just didn’t have the time. So anyways heres what you can do.
Resolution: Open Finder and go to the OSX drive on the left. Open the folder called Extras. Right Click on the file com.Apple.Boot.plist and open it with texteditor. Under the first insert this. Be sure to remove the spaces first except the one between Graphics Mode.
< key> Graphics Mode < /key>
< string > 1280×1024×32 < /string>
Select Save AS at the top and save it to the desktop but first uncheck the check under Unicode and then save it as com.apple.boot.plist. After that drag’n’drop it into the extras folder and overwrite and enter your password. Voila
Via Increase Mac VM Resolution
Sound: Go Here Virtualbox Mac Driver or use this direct LINK and install the software
System Updates: Dont Install the Updates
If you want updates you’ll have to install another iso distribution with the updates on it. If you install the updates directly from apple it messes with the custom kexts and chameleon. Just a forewarning.
And for those of you getting boot issues try choosing a different version of Chameleon or a different kernel. Sometimes that seems to help. And If your getting one of the USB errors then try disabling USB in the VirtualBox settings and see if that helps.
http://tek411.blogspot.com/2010/06/osx-in-virtual-box-hackintoshed-vm.html